Additive manufacturing · Thermal systems
Hot Belty
An enclosed conveyor-belt printer with custom chamber heating, developed and built at FAST Lab for high-temperature additive manufacturing.
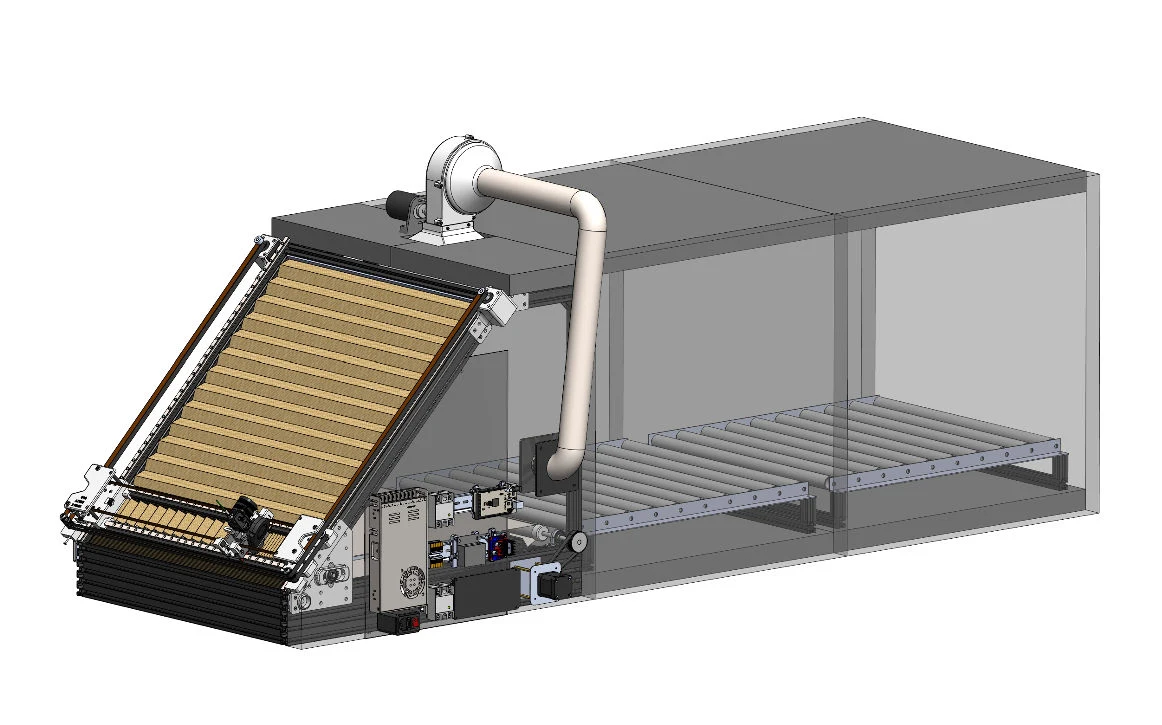
Mechanical design, sourcing and fabrication, machine assembly, and Arduino C heater control at Western’s FAST Laboratory.
Overview: continuous printing at higher temperatures
After building my first conveyor-belt printer, I developed Hot Belty at Western’s FAST Laboratory with support from Dr. Joshua Pearce. The design combines continuous belt motion with a heated environment intended for engineering thermoplastics such as PEEK, PEKK, and PEI.
The challenge was that the belt-printer geometry is deliberately open: the part and print surface need to move through the machine. A high-temperature chamber asks for the opposite—an enclosed space that retains heat. I had to resolve both requirements with low-cost, accessible parts, while keeping the motion system serviceable and sensitive components away from the hottest region.
Containing heat around a moving gantry
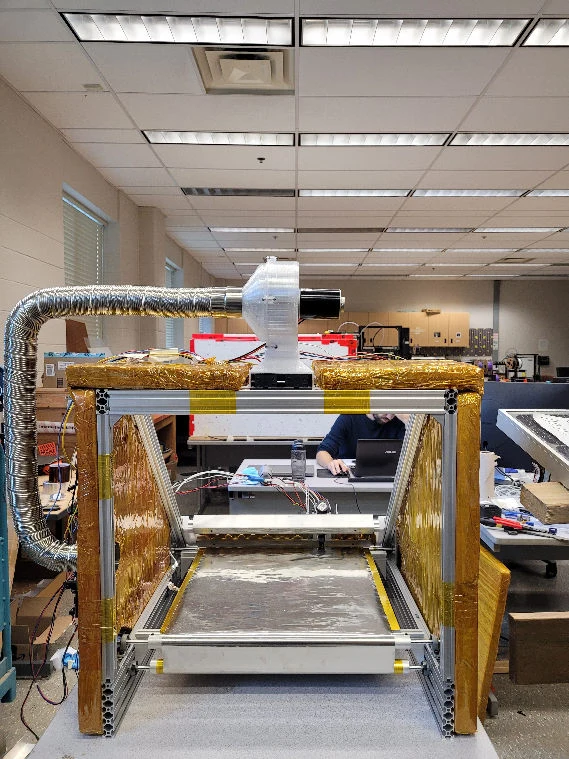
The structure combines 2020 aluminum extrusion, custom sheet metal, and printed components. Component placement keeps heat-sensitive parts away from the chamber; selected printed parts near the heated region use polycarbonate. This reserves more expensive materials for the locations that need them.
A rigid cover would interfere with the moving gantry, so the enclosure needed flexible sections. Fiberglass welding-blanket material provided a low-cost route to bellows, with Rockwool insulation around the chamber. The bellows had to accommodate motion without opening a large heat-leak path around the gantry.
Heating the air and the moving print surface
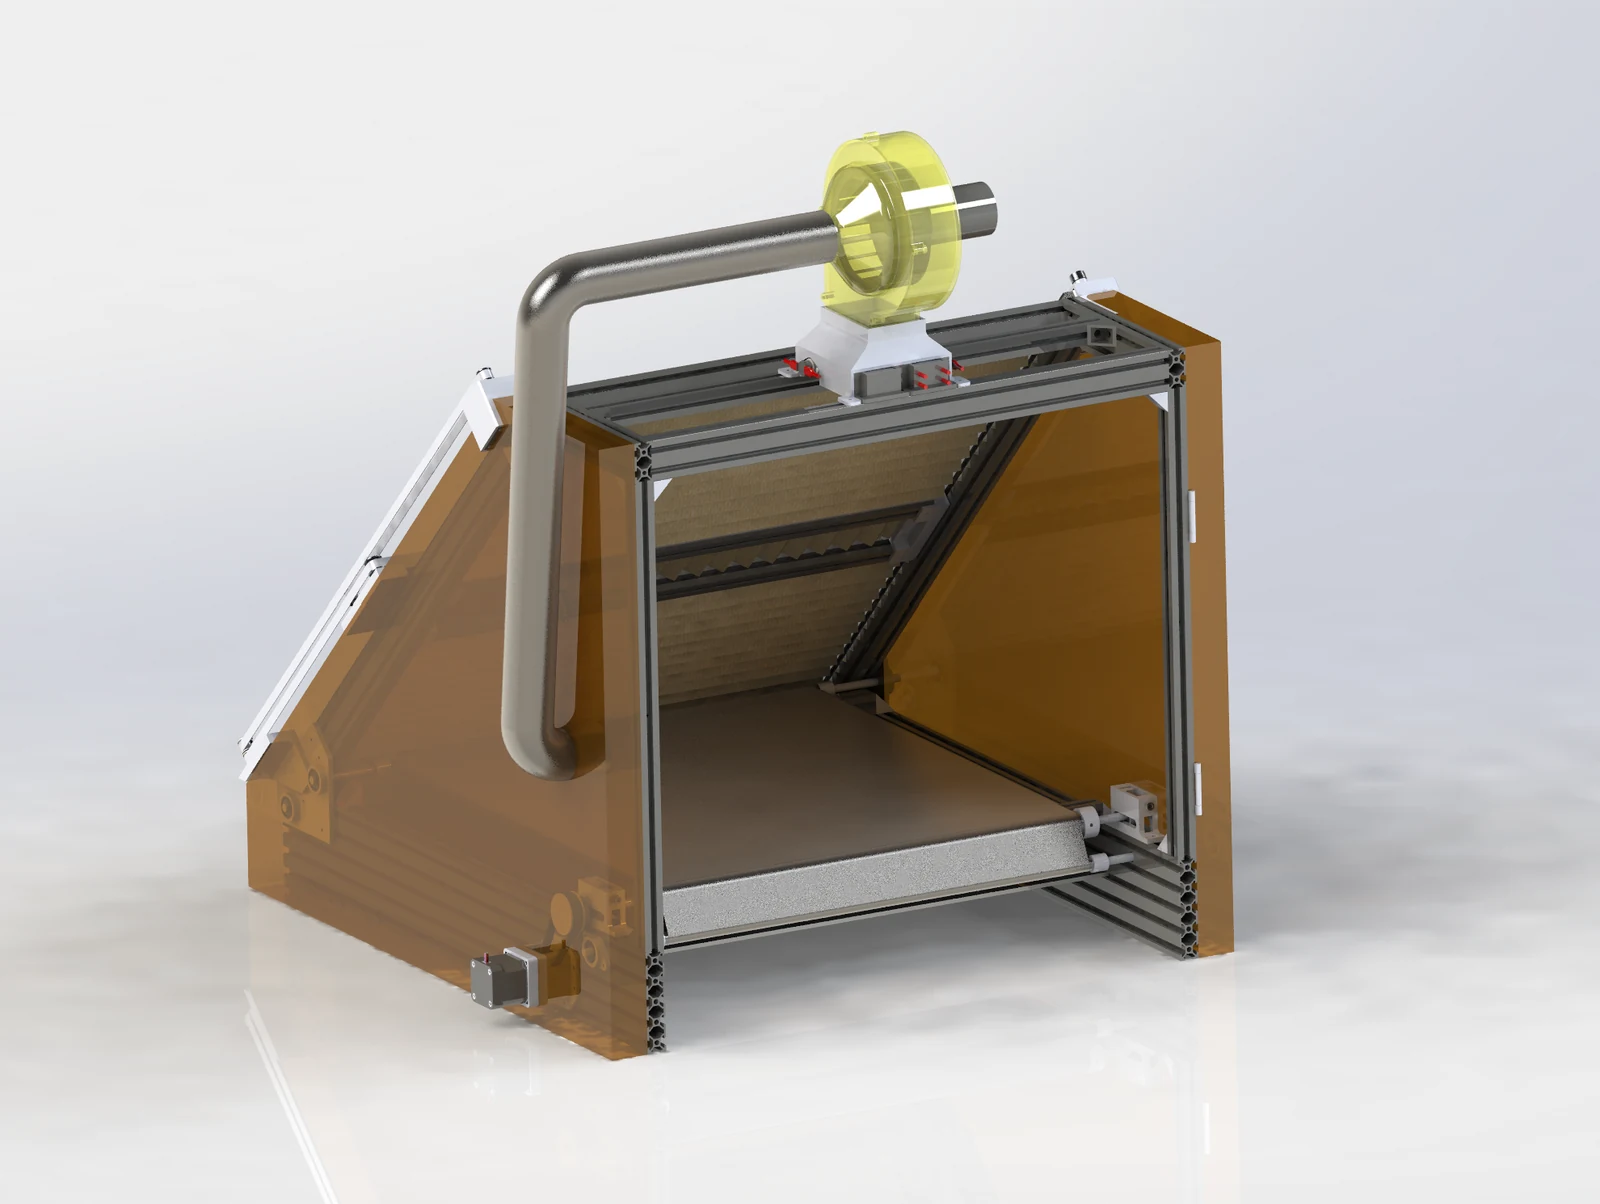
A custom blower and ceramic-heater assembly circulates heated air through the chamber. SOLIDWORKS Flow Simulation informed the blower geometry. The Arduino C PID controller regulates enclosure heating independently of the printer’s motion firmware.
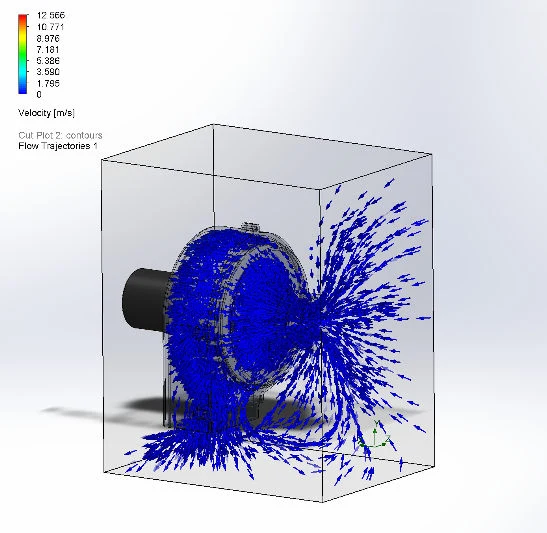
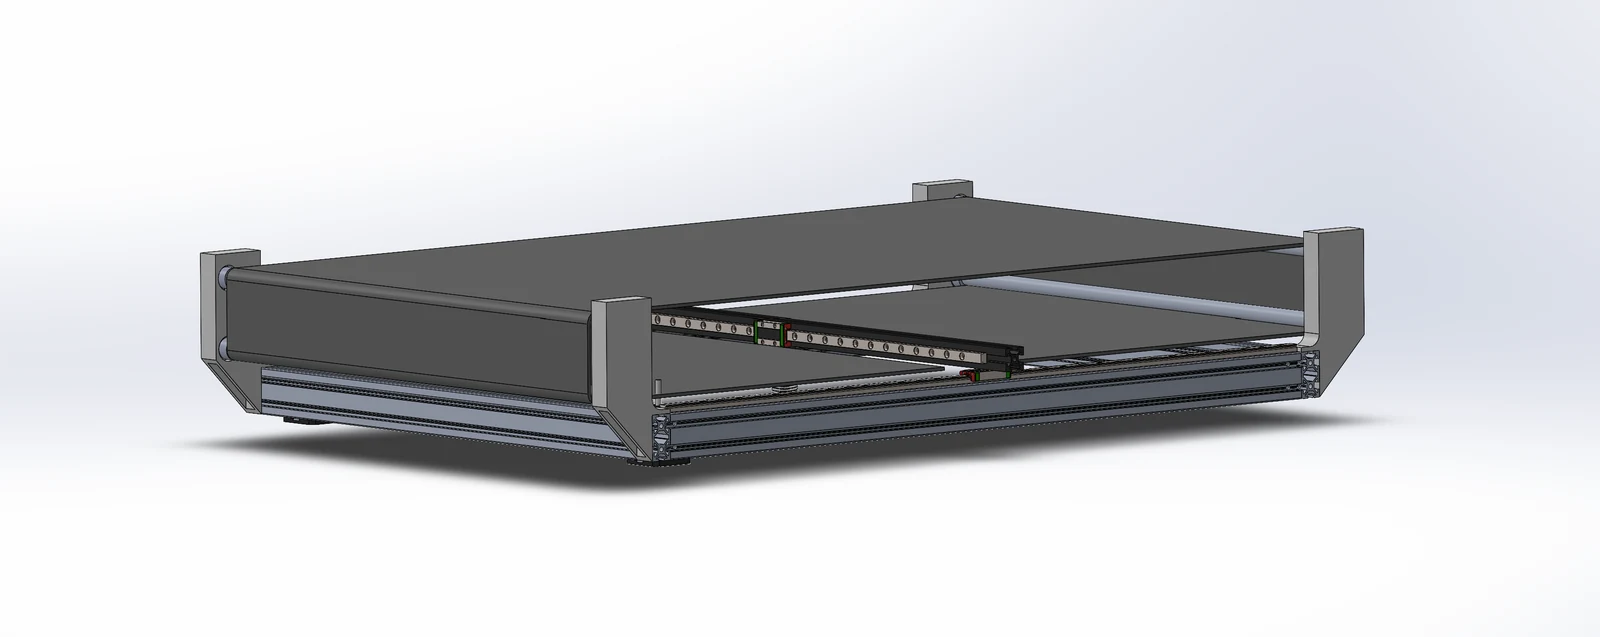
Heating the chamber and heating the print surface are separate problems. The chamber controls the part’s surrounding environment, while the bed must transfer heat through the moving belt to the first layer. A hot heater therefore does not automatically mean the belt surface has reached the same temperature. I selected a 1200 W, 400 mm square silicone bed heater for a 450 mm square aluminum bed, with a design target near 250 °C at the heater/bed to support a belt surface above 200 °C. In my build notes, the bed reached 60 °C in about 20 seconds.
I chose a 24 V system for the low-voltage components because suitable components were readily available and comparable in cost to 12 V parts, while allowing thinner wiring for the same power. The bed and enclosure heaters used separate mains-powered circuits controlled through relays.
Machine bring-up and thermal tests
I assembled the machine, brought up CoreXY motion and firmware, implemented the heater controller, and completed initial prints with lower-temperature thermoplastics. I also recorded bed temperatures above 200 °C. These were the first milestones toward the intended 150–200 °C chamber and engineering-polymer process; PEEK/PEI printing still needs its own tuning and print validation.
Building the machine made the remaining work more specific. Belt adhesion, heat leakage, and motion could now be evaluated together instead of as separate design assumptions. The next stage is to hold stable conditions during a complete print and establish a process for each intended polymer.
TODOs
- Finish the enclosure extension and bellows details, then check temperature uniformity across the print region during motion.
- Tune belt tracking, first-layer adhesion, and the motion profile using repeatable benchmark parts.
- Establish material-specific chamber, bed, and hotend settings, beginning with lower-temperature prints before the intended engineering polymers.
- Log temperatures and print results during long runs to identify heat leakage, part warping, and temperature-sensitive components.