Machine design · Firmware
Custom conveyor-belt printer
A custom CoreXY conveyor printer, developed from mechanical CAD through Marlin integration and repeated benchmark prints.
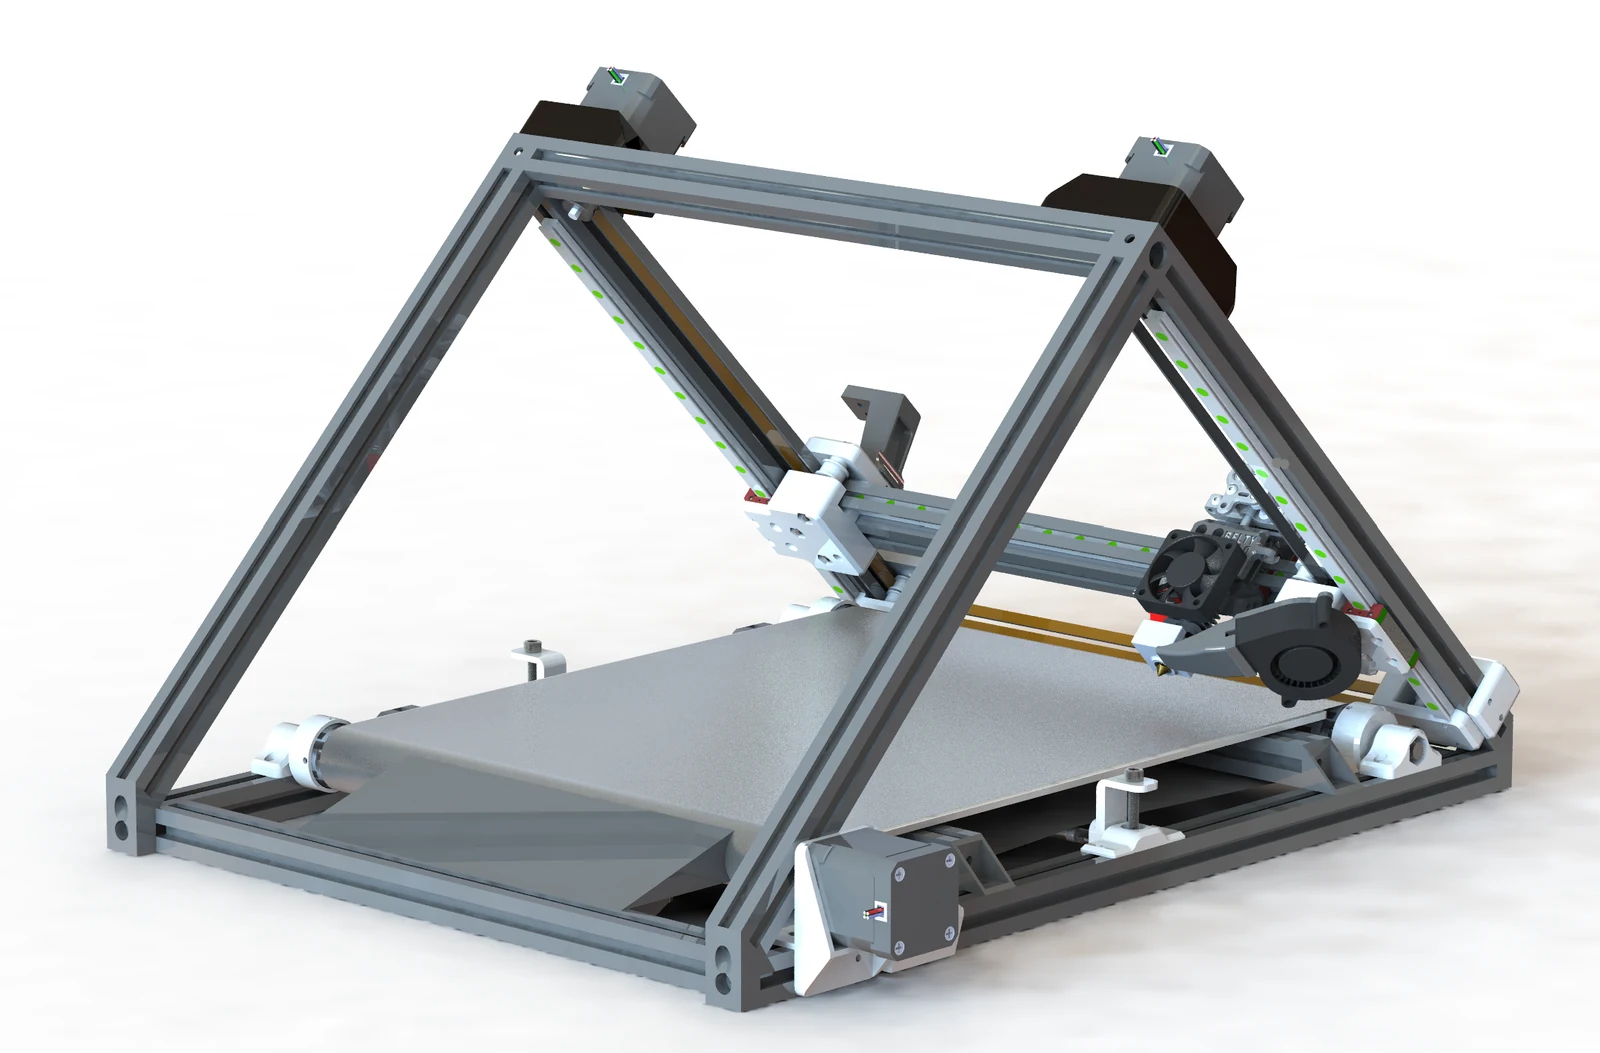
Mechanical design in SOLIDWORKS, belt-material experiments, fabrication, assembly, and Marlin configuration.
Overview: printing beyond a fixed bed
On a conventional printer, a longer part usually means a longer machine. A belt printer changes that relationship: the build surface moves through an inclined gantry, advancing the part out of the printing area as material is added. The practical limits move toward supporting the finished part, keeping the belt aligned, and maintaining adhesion.
I designed this machine around that idea, using inexpensive components and an open-source design so it could be built and modified without specialist fabrication. It became a complete machine-development project, from the first mechanical layout through wiring, firmware, and physical prints.
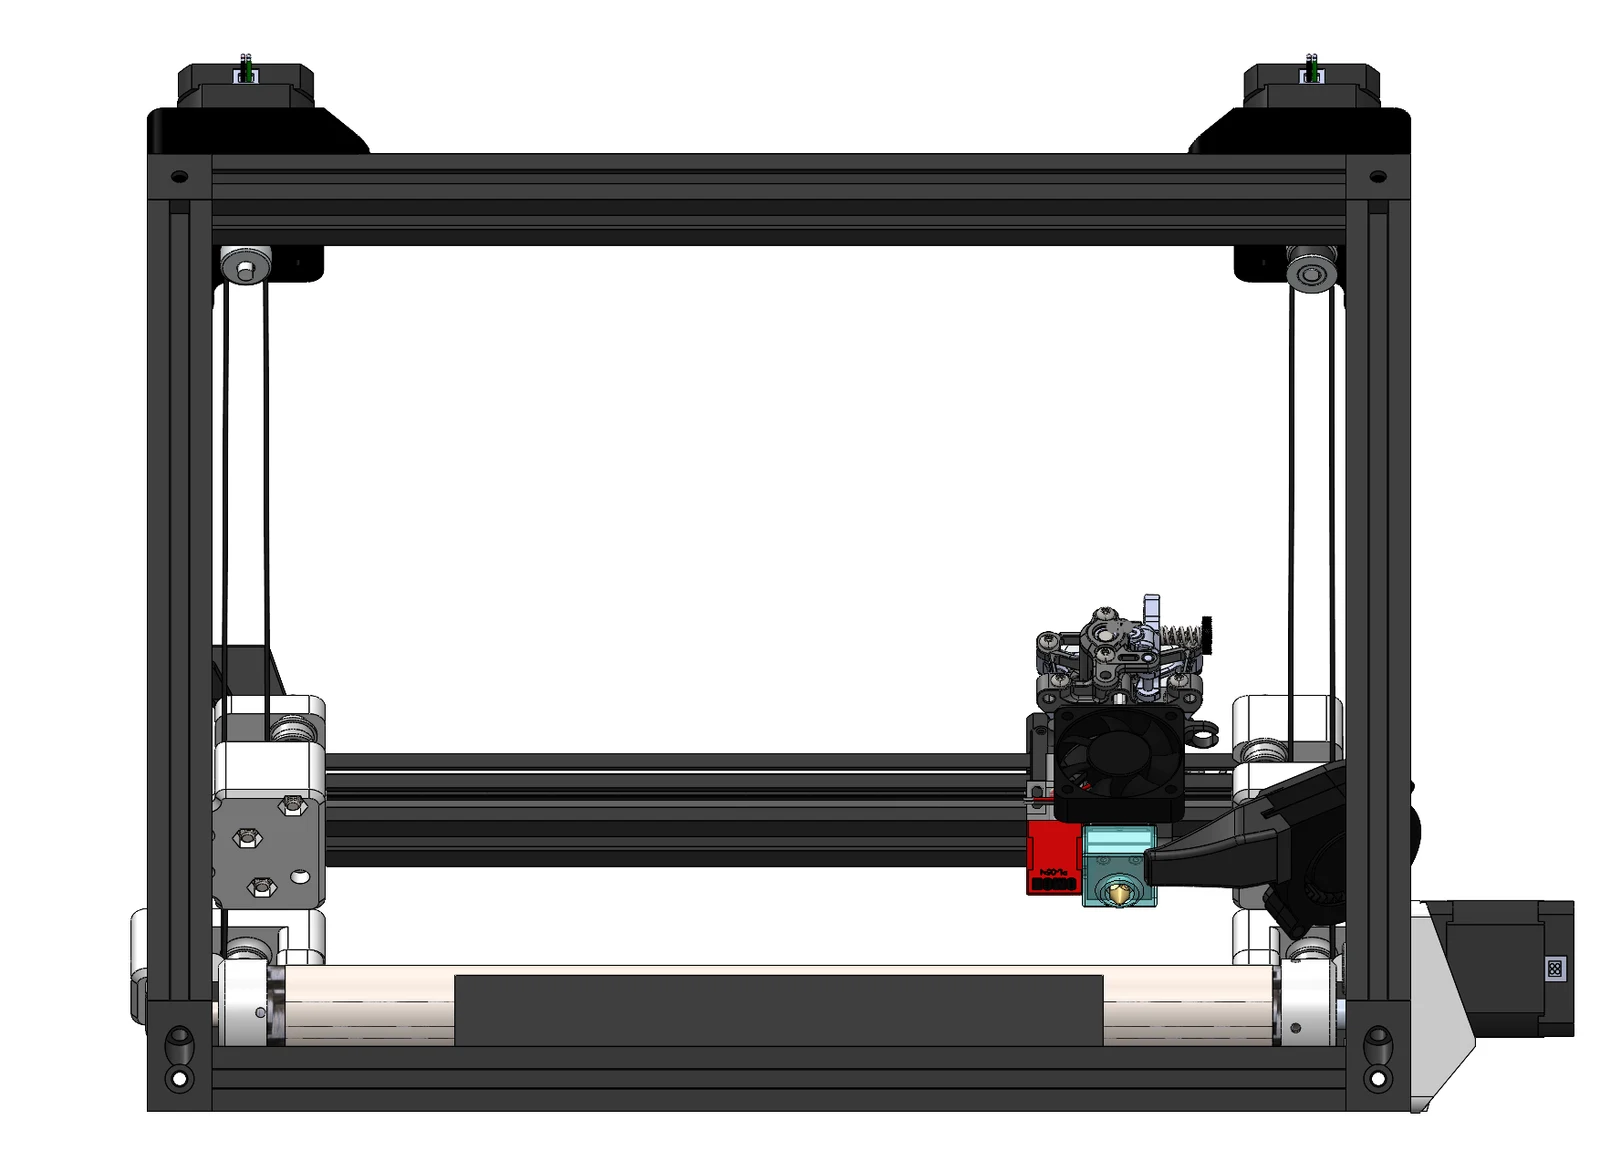
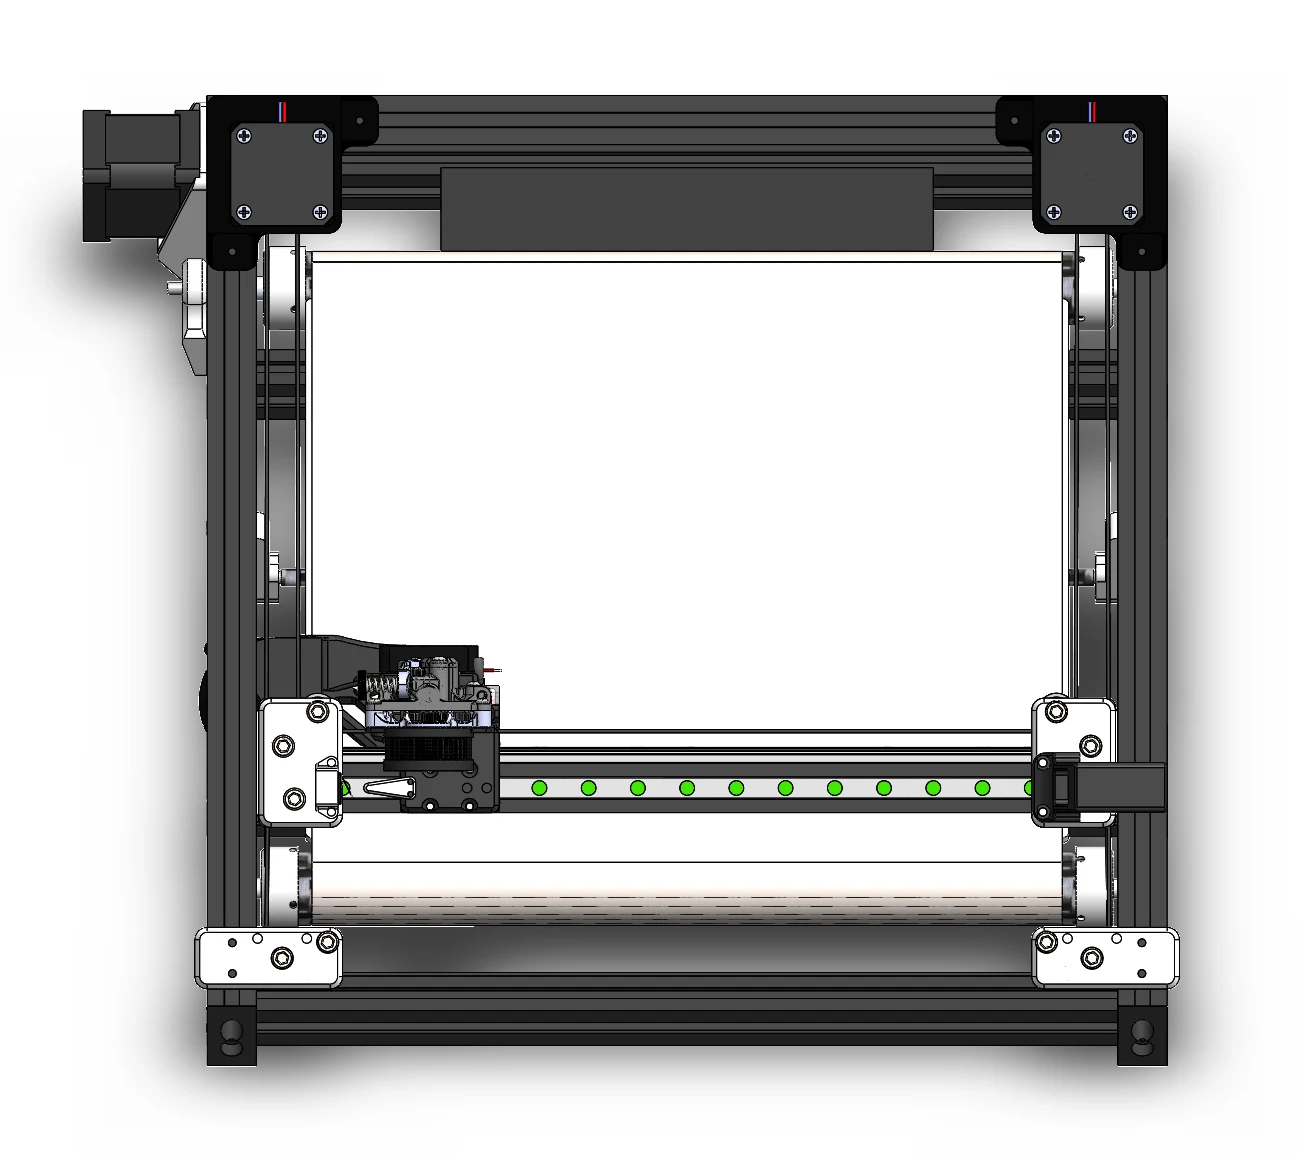
The SOLIDWORKS design combines 2020 aluminum extrusion, printed brackets, off-the-shelf electronics, and CoreXY motion. The work covered the complete machine: frame, gantry, belt, toolhead mounting, wiring, and firmware.
The belt took more iteration than the frame
The frame was relatively straightforward to build from extrusion. The belt was harder because it had to be a flexible machine component and a print surface at the same time. The belt needed to bend around the rollers, retain a usable printing surface, and remain affordable to replace. Material selection combined research into existing belt designs with physical trials of available alternatives.
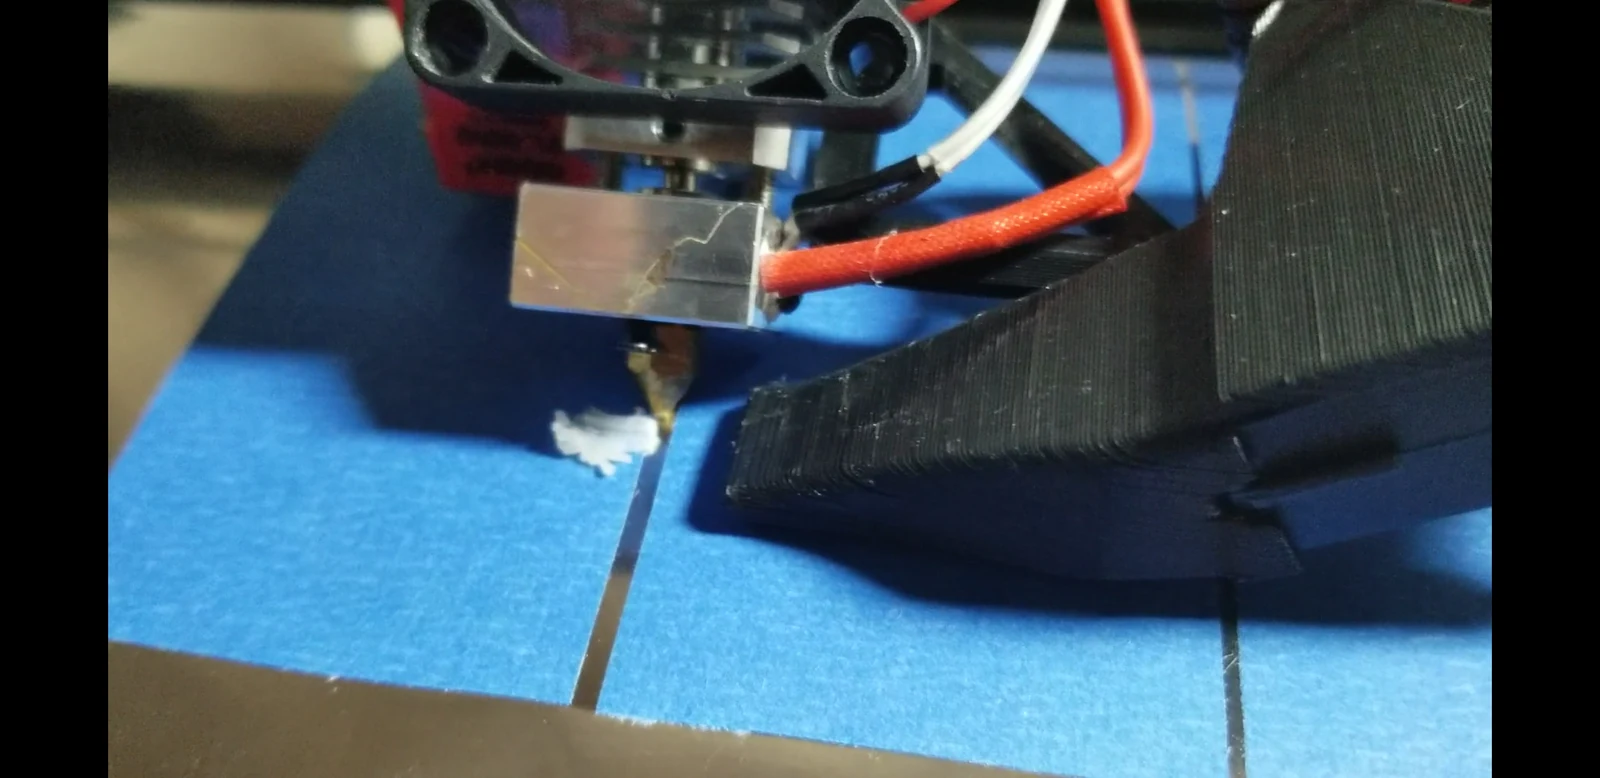
I settled on stainless-steel shim covered with masking tape. That separated two requirements: the shim carried the belt mechanically, while the tape provided a replaceable surface for adhesion. It also made surface replacement independent of fabricating a new belt. This was a practical material choice for the original printer; the later high-temperature machine introduced a different set of adhesion and heating requirements.
Getting from CAD to repeated prints
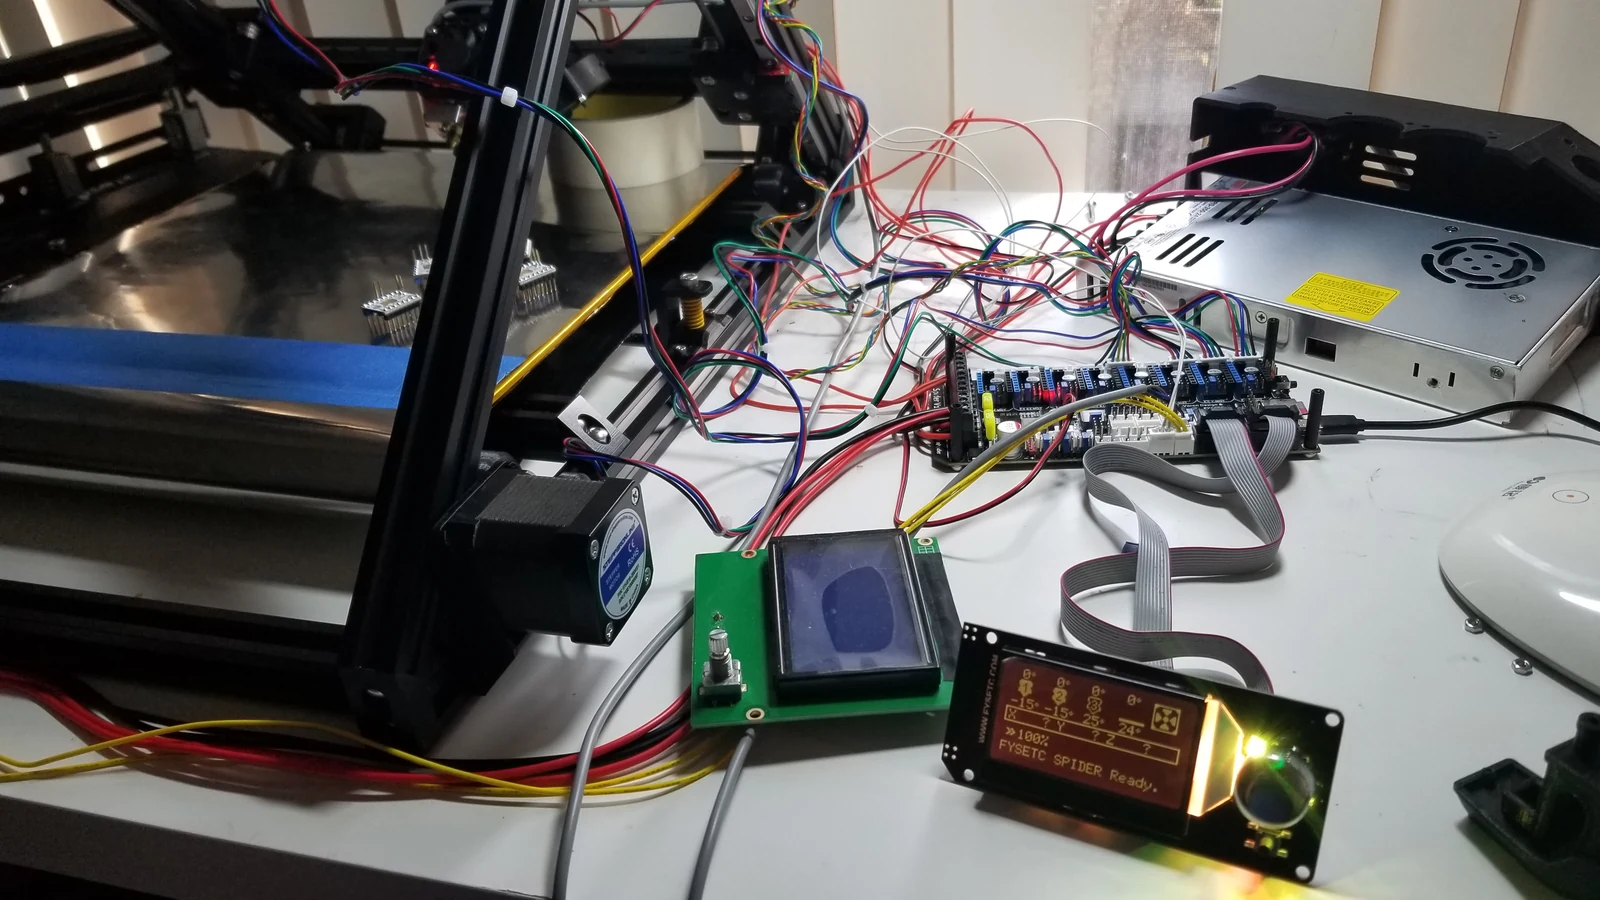
Once the mechanics were assembled, I configured Marlin and brought up the CoreXY motion system. A successful movement command was not enough: the belt, gantry, and extrusion needed to produce a consistent part together. Repeated benchmark prints gave me the same geometry to inspect after each adjustment, making changes in surface quality and printing speed comparable.
The printer successfully produced parts and demonstrated the belt/CoreXY arrangement. By the time I prepared my 2024 portfolio, the design had received more than 800 downloads on GrabCAD. The build also became the starting point for Hot Belty, where I carried the continuous-printing idea into an insulated, heated machine.
TODOs
- Consolidate the belt fabrication method, tensioning setup, and firmware configuration into a reproducible build guide.
- Record speed, dimensional error, and surface finish for a fixed set of benchmark parts.
- Document long-part support and repeated part release at the end of the belt.
- Carry the belt-tracking and adhesion lessons into the high-temperature version.